What to Bring to Your Spain Fingerprints Appointment for TIE
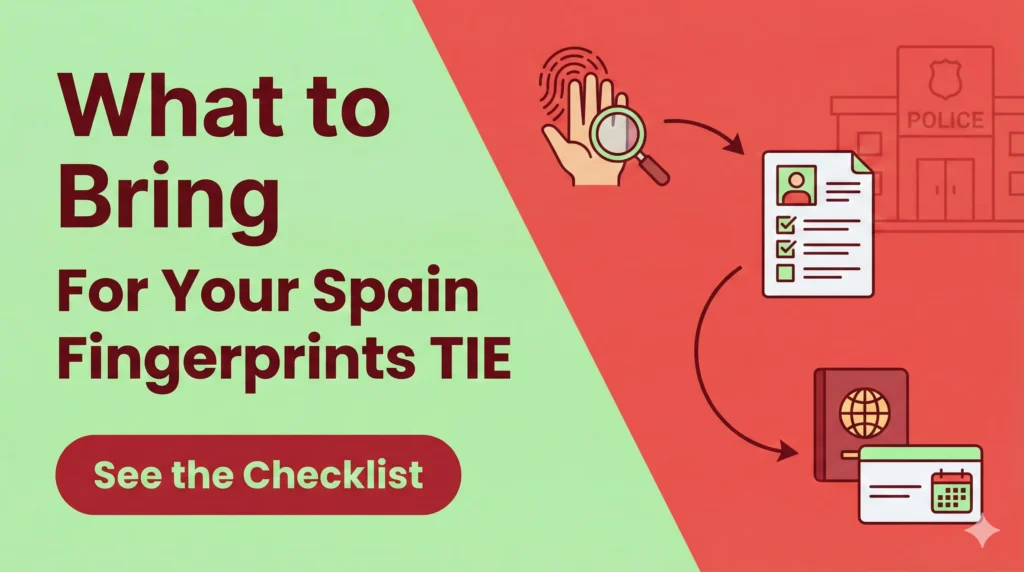
The “Toma de Huellas” is the final hurdle between you and your Spanish residency card. This guide provides a definitive checklist of every document required for the TIE fingerprint appointment, including the specific forms, photo dimensions, and payment receipts needed to ensure you walk out with your confirmation in hand.
Disclosure: This post may contain affiliate links. We may earn a commission at no extra cost to you if you make a purchase through these links. Read full disclosure.
Understanding the Fingerprint Appointment
The Toma de Huellas is purely an administrative procedure to issue your physical Tarjeta de Identidad de Extranjero (TIE). The officers at this appointment are not reviewing your legal right to live in Spain—that has already been decided by the Immigration Office (Extranjería). Their job is solely to capture your biometric data (fingerprints and photo) and link it to your file so the card can be printed.
Because this is a police procedure, efficiency is key. Appointments are usually scheduled in 5 or 10-minute intervals. If you are disorganized or fumbling for papers, you disrupt the flow. Being over-prepared is the best way to ensure a smooth interaction.
The Core Document Checklist
Regardless of your visa type—whether you are a student, a non-lucrative resident, a digital nomad, or a family member of an EU citizen—there is a core set of documents that every applicant must present.
1. Valid Passport or Travel Document
You must bring your original passport. It must be the same passport you used for your initial application. If you have renewed your passport since your visa was approved, bring both the old and the new passport.
- Validity: Ensure your passport is not expired.
- Photocopies: Bring a high-quality photocopy of the main biodata page (the page with your photo and personal details). Some offices may ask for copies of your visa stamp or entry stamp, so it is safer to photocopy those pages as well.
2. Proof of Appointment (Cita Previa)
You cannot enter the police station without proof that you are expected.
- The Confirmation: Print the PDF confirmation or the email you received when you booked the appointment.
- Format: Digital copies on your phone are often accepted, but a printed copy is safer. Police guards at the door often check a physical list against your printed paper before letting you pass security.
- Timeliness: If your name is not on the list, the printed confirmation is your only proof that you have a right to be there.
If you are still struggling to secure this slot, you might want to review our strategies in How to Book a Cita Previa for Extranjería in Spain (Step-by-Step).
3. Application Form EX-17
This is the official request form for the identity card.
- The Form: You need the Solicitud de Tarjeta de Identidad de Extranjero (EX-17).
- Copies: Bring two copies. One is for the police, and one is for you to keep (stamped) as proof of application.
- Completion: Fill it out on your computer and print it. Handwritten forms are accepted but can lead to data entry errors if your handwriting is unclear.
- Section 4: In the section “Datos relativos a la tarjeta,” ensure you check the correct box (e.g., “Initial card,” “Renewal,” or “Lost/Stolen”).
4. Proof of Payment (Tasa Model 790-012)
This is the most common stumbling block. You cannot pay the fee at the police station. It must be paid before you arrive.
- The Form: You need the stamped Model 790 Code 012.
- The Proof: If you paid at a bank ATM, staple the small receipt to the form. If you paid online, print the full receipt containing the NRC code.
- The Amount: Ensure you have paid the exact amount for your specific procedure (e.g., roughly €16 for an initial card or €19 for a renewal). Paying the wrong amount can result in rejection.
For a detailed walkthrough on how to generate and pay this tricky form without errors, read How to Pay Spain Immigration Fees (Tasa) Online: Model 790 Explained.
5. Recent Passport-Style Photograph
Spain has specific requirements for ID photos that differ from US or UK standards.
- Size: “Tamaño carnet” (32×26 mm).
- Background: Must be a plain white background.
- Composition: Face front, no hats, no dark glasses, and hair off the face.
- Quantity: Bring one, but keep a spare just in case the glue smears or it gets damaged.
- Recency: It is technically required to be a “recent” photo. If you use the same photo from a visa issued 6 months ago, strict officers might reject it. It is worth spending €5 at a fotomatón (photo booth) for a fresh set.
For more specifics on the exact dimensions and common errors to avoid, check out Spain Visa Photo Requirements: Size, Background, and Common Errors.
6. Resolution Letter (Resolución de Concesión)
This is the document that proves you have been approved for residency.
- The Document: The “Resuelto Favorable” letter.
- Format: Print the PDF you downloaded from the immigration portal. You do not need the original stamped letter mailed to you; the printed PDF with the CSV (Secure Verification Code) bar at the bottom is legally valid.
- Why it’s needed: The police need the “Expediente” number and the “NIE” from this letter to locate your approved file in their database.
Documents for Specific Scenarios
While the list above covers the basics, your specific situation might require extra paperwork.
Initial TIE (First Card)
If this is your first time getting a card after arriving on a visa:
- Visa Copy: A photocopy of the visa page in your passport.
- Entry Stamp: Proof of when you entered the Schengen area (stamp in passport or boarding pass).
Renewal of Residency
If you are renewing an expired card:
- Expired Card: Bring your old TIE card (original).
- Photocopy: A copy of the front and back of the old card.
Change of Address
If you have moved since your initial application or since your last card was issued, you want your new TIE to show your current address.
- Empadronamiento: You must bring an original Certificado de Empadronamiento.
- Validity: The certificate must be less than 3 months old. If it is older, the police will not accept it as valid proof of current address.
If you are unsure how to obtain this update, refer to Empadronamiento in Spain: How to Register Your Address.
Lost or Stolen Card (Duplicate)
If you are applying for a replacement card because yours was lost or stolen:
- Police Report: You must bring the original police report (Denuncia) detailing the loss or theft.
- No Resolution Letter Needed: Since you are not applying for a new residency but a duplicate of an existing one, you don’t need a new resolution letter, but you should bring your passport.
For a full guide on handling a lost card situation, see Lost or Stolen TIE/NIE Documents: Replacement Steps in Spain.
Comparison of Requirements by Permit Type
Use this table to quickly check if you have the variations needed for your specific case.
| Requirement | Initial Card | Renewal | Lost/Stolen | Change of Address |
| Passport | Original + Copy | Original + Copy | Original + Copy | Original + Copy |
| EX-17 Form | Checked “Initial” | Checked “Renewal” | Checked “Duplicate” | Checked “Modification” |
| Tasa 790-012 | Paid (~€16) | Paid (~€19) | Paid (~€19) | Paid (~€19) |
| Photo | Required | Required | Required | Required |
| Resolution Letter | Required | Required | Not Required | Not Required |
| Old TIE | N/A | Required | N/A | Required |
| Police Report | N/A | N/A | Required | N/A |
| Padron | Required | Not needed (if same address) | Not needed (if same address) | Required (<3 months) |
Deep Dive: Critical Document Details
To ensure you don’t face any surprises, let’s look closer at the most complex items in your folder.
The EX-17 Form nuances
The EX-17 is a generic form used for many things.
- Field 4 (Data of the card): This is the most critical section.
- If you just arrived: Check “Tarjeta Inicial”.
- If you renewed: Check “Renovación de Tarjeta”.
- If you lost it: Check “Duplicado por robo o extravío”.
- Address Section: The address you write on the EX-17 must match your Empadronamiento exactly. If there is a discrepancy (e.g., “Calle Mayor 1” vs “C/ Mayor 1, 2A”), the officer might question it.
The Tasa 790-012 Payment
A common point of confusion is the “Reference Number” (NRC).
- Paying Online: If you pay via your bank’s app or the government payment gateway, you get an alphanumeric code called the NRC. You must write this code on the 790 form if it doesn’t automatically print there.
- Paying at ATM: The small receipt is the only proof. Staple it. Do not lose it. The police usually do not have a card machine. If you show up unpaid, they will send you to the nearest bank, and by the time you return, your appointment slot may be gone.
The Empadronamiento Validity
Many people assume that once they are registered on the Padron, they are set forever.
- The 3-Month Rule: For immigration procedures, the certificate expires after 3 months.
- The Flyer vs. The Certificate: Some town halls issue a Volante (Flyer) and a Certificado (Certificate). The police generally accept the Volante for the TIE, but the Certificado is the more formal document. If possible, get the Certificate to be safe.
What to Expect at the Station
Knowing the choreography of the appointment can lower your stress levels.
1. Arrival and Security
Arrive 15 minutes early. You will likely see a queue outside. Approach the National Police officer guarding the door. They will ask for your appointment proof. Show them the printout. They may check your ID (Passport) right there.
2. The Waiting Room
Once inside, you may be given a number or told to wait until your name is called. Do not wear headphones. The officers often shout names quickly and move on if there is no response.
3. The Desk Interaction
When called, approach the desk.
- Silence: Hand over your documents without needing to explain your life story. A simple “Buenos días, tengo cita para toma de huellas” is sufficient.
- Processing: The officer will type your data, scan your photo (and sometimes return it to you), and scan the payment receipt.
- Fingerprinting: You will be asked to place your index fingers on a digital scanner. Usually, it is the right index finger (índice derecho) then the left (índice izquierdo). They may ask you to press harder or roll the finger.
4. The Receipt (Resguardo)
Once the process is done, the officer will hand you a document called a Resguardo de Solicitud de Tarjeta.
- Crucial: This paper is your temporary ID. It proves your card is in production.
- Lot Number: It usually contains a “Lote” number. This is how you track when your card is ready for pickup.
- Keep it Safe: You must bring this original paper back to pick up your card.
Common Mistakes to Avoid
We have seen many applicants turned away for preventable reasons. Here is a “Hall of Shame” of common errors:
- Bringin a “Copia Simple” of the Padron: Ensure the document has a digital signature or verification code. A plain photocopy of an old padron is not valid.
- Wrong Tasa Form: Bringing the Form 790-052 (used for processing applications) instead of the 790-012 (used for cards). They look almost identical but have different codes in the top corner.
- Selfies for Photos: Using a home-printed photo on standard paper. It must be photographic paper and high resolution.
- Missing the Passport: Leaving the passport at home because “they already have a copy.” They always need to see the original.
After the Appointment: The Waiting Game
Once you leave the station with your Resguardo, the manufacturing process begins. The card is printed at the National Mint (Fábrica Nacional de Moneda y Timbre) in Madrid and shipped to your province.
How Long Does it Take?
Standard processing time is 30 to 45 days. In smaller towns, it might be 20 days; in Madrid, it can be up to 60.
Checking the Lot Number
Most offices post the “Lote” number currently available for pickup on a notice board outside the office. Some provinces have unofficial Twitter accounts or websites tracking this. You generally do not receive an SMS or email when the card is ready; you just have to wait the allotted time.
Booking the Pickup
When enough time has passed, you need to book another appointment specifically for “Recogida de Tarjeta” (Card Pickup). You cannot just walk in to grab it. This appointment is generally easier to find than the fingerprint one. For the full procedure on closing the loop, review How to Get the TIE Card in Spain: Fingerprints, Fees, and Pickup.
Conclusion
The fingerprint appointment is a ceremony of precision. It is the moment where your digital approval becomes a physical reality. While the list of requirements may seem pedantic, viewing it as a checklist for success is the best mindset.
By preparing your folder with the exact documents listed above—original passport, correct tax form, compliant photo, and valid padron—you transform a potential source of anxiety into a routine administrative task. When you walk out of that station, you are effectively a documented resident of Spain, with only the printing press standing between you and your new life.
References
Primary sources (official)
- Policía Nacional (Documentation for TIE):https://www.policia.es/_es/extranjeria_portada.php
- Sede Electrónica (Tasa 790-012 Download):https://sede.policia.gob.es/portalCitizen/
- Ministry of Inclusion (Residency Procedures):https://www.inclusion.gob.es/en/web/migraciones/vivir-en-espana
Other helpful sources
- City of Madrid (Padron Information):https://www.madrid.es/
- LegalTeam Spain (Immigration Lawyers Blog):https://legalteam.es/
Disclaimer
The information provided in this article is for general informational purposes only and does not constitute legal advice. Documentation requirements can vary by province and specific police station in Spain. We recommend consulting with a qualified ‘gestor’ or checking the specific requirements on your appointment confirmation to ensure you are fully prepared.